
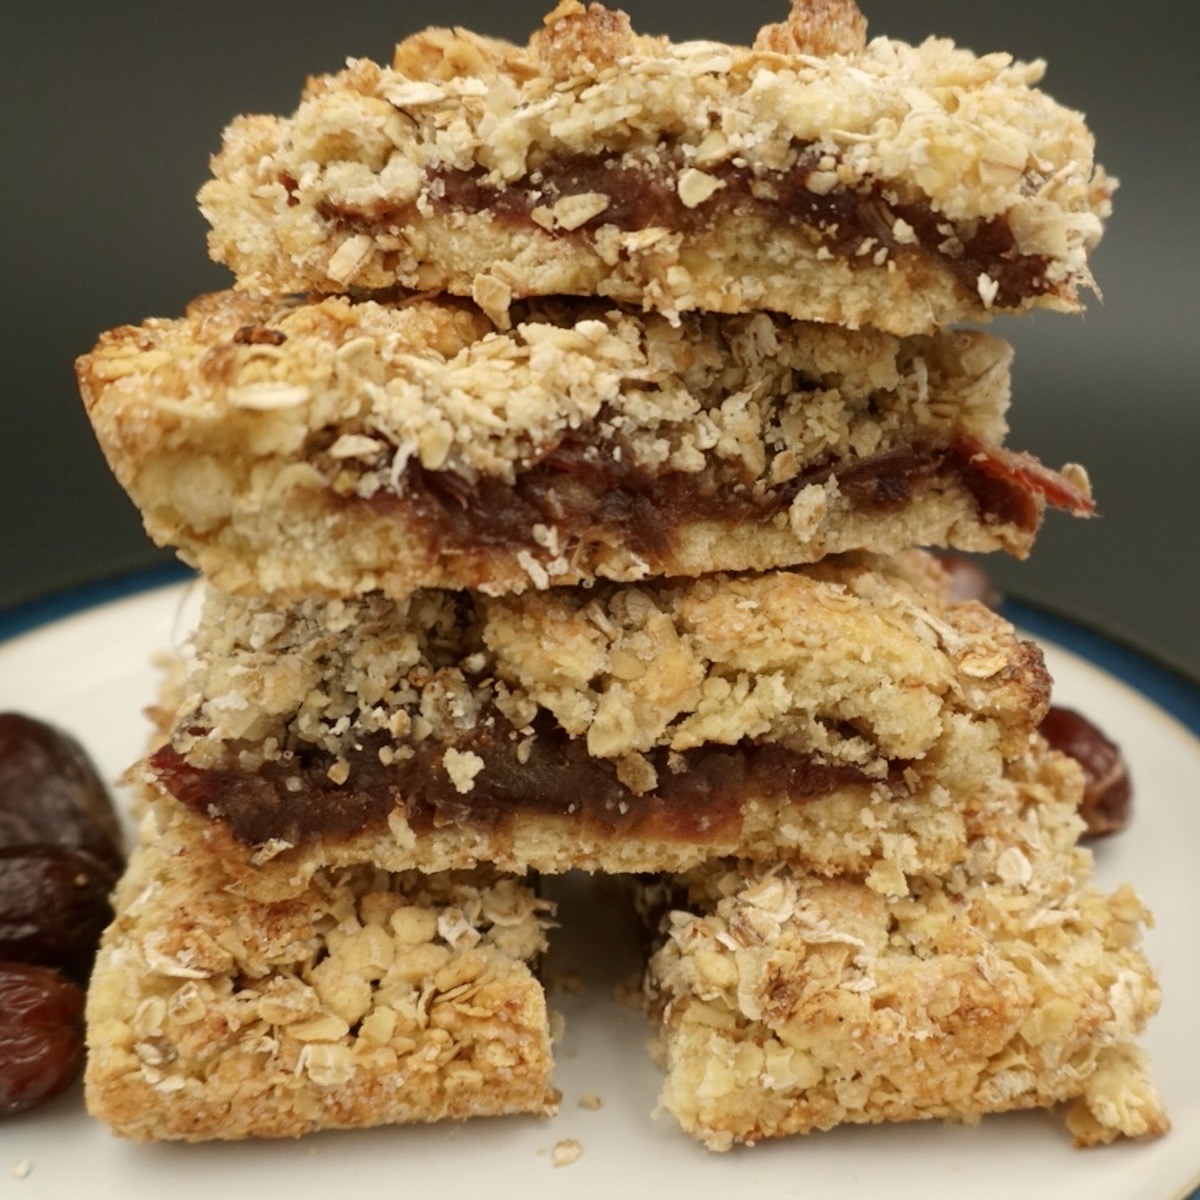
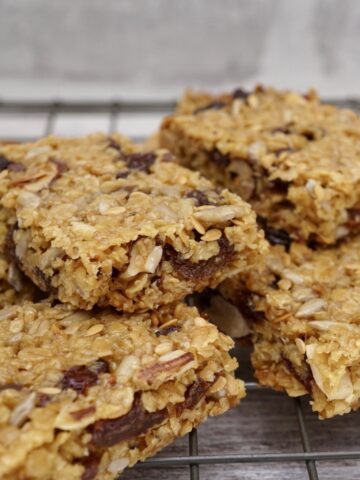
Date and oat slices are oat crumble bars with a naturally sweet homemade date purée sandwiched between two layers of golden oat crumble. They are a filling and portable snack making them ideal for lunchboxes and picnics or an afternoon treat. This traybake recipe uses simple ingredients, is easy to make and includes instructions on how to make it vegan.
This recipe was updated on 27 October 2024 to reduce the amount of sugar in the crumble.
The good things about these oat bars are:
- They are made using common ingredients.
- They will stay as fresh as the day they were baked for several days.
- The date filling and crumble mixture can each be prepared in advance and then assembled and baked when convenient.
- They make a tasty dessert or snack for when you are out and about or at home.
- They are freezer friendly.
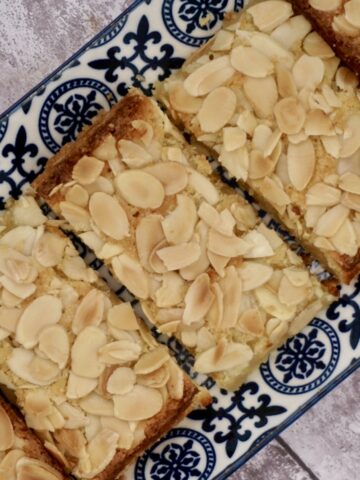
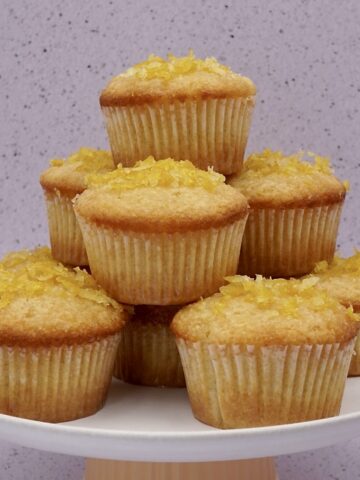
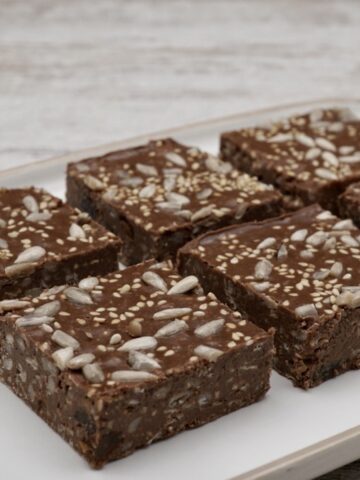
You may also like to try one of these variations on this recipe including apricot slices, mincemeat crumble bars which are useful way to use up leftover Christmas mincemeat or cranberry and apple slices.
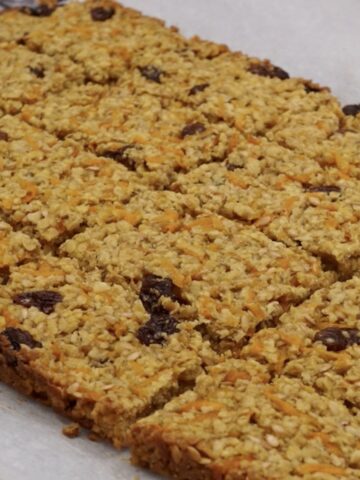
If you are looking for other easy snack recipes you may also like to try carrot flapjacks, honey flapjacks, banana flapjacks or no bake granola bars.
The quantities in this date slice recipe are sufficient for a 28 cm by 18 cm (11" by 7") tin (about 16 portions).
See the recipe card below for detailed list of ingredients and instructions.
Ingredients for the filling
- Dates
- Water
- Vanilla extract or essence
Ingredients for the crumble
- Flour
- Baking powder
- Butter
- Oats
- Granulated sugar
How to prepare
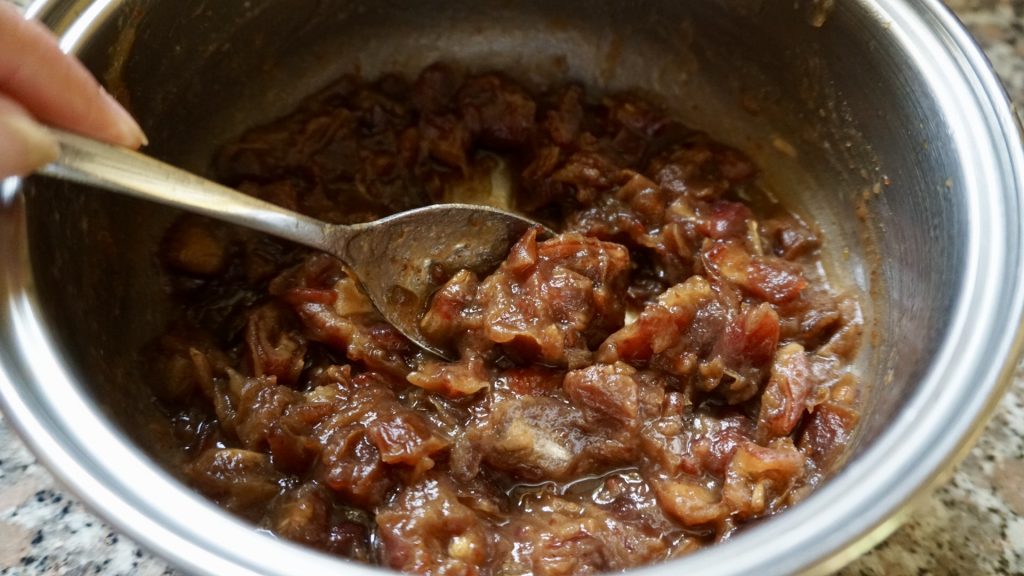
Prepare the date paste filling.
Prepare the oat crumble.
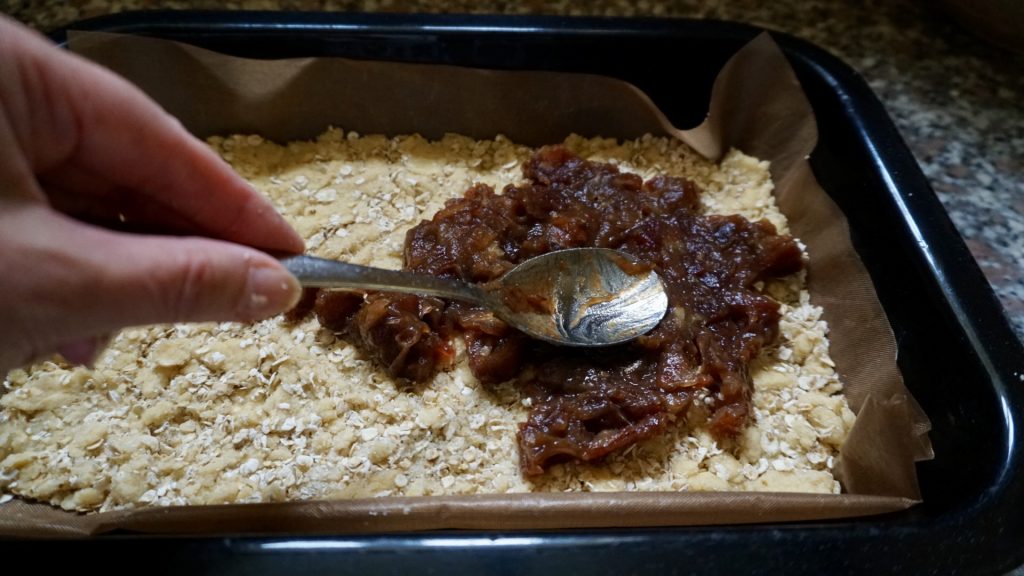
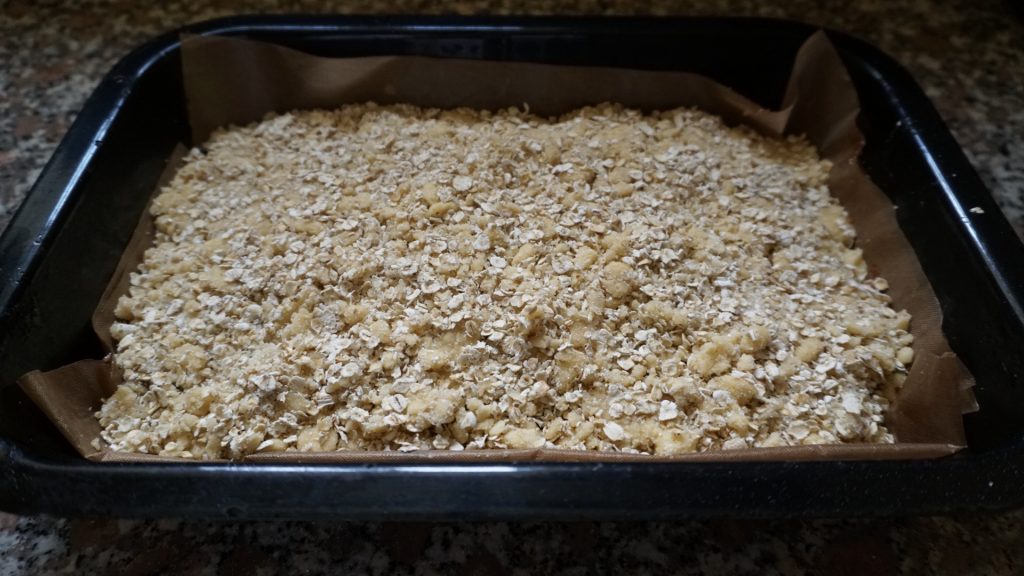
Pack half the crumble mixture into the base of a lined tin.
TIP - ensure the first layer of crumble is firmly packed into the base of the tin.

Spread the date mixture over the crumble base.
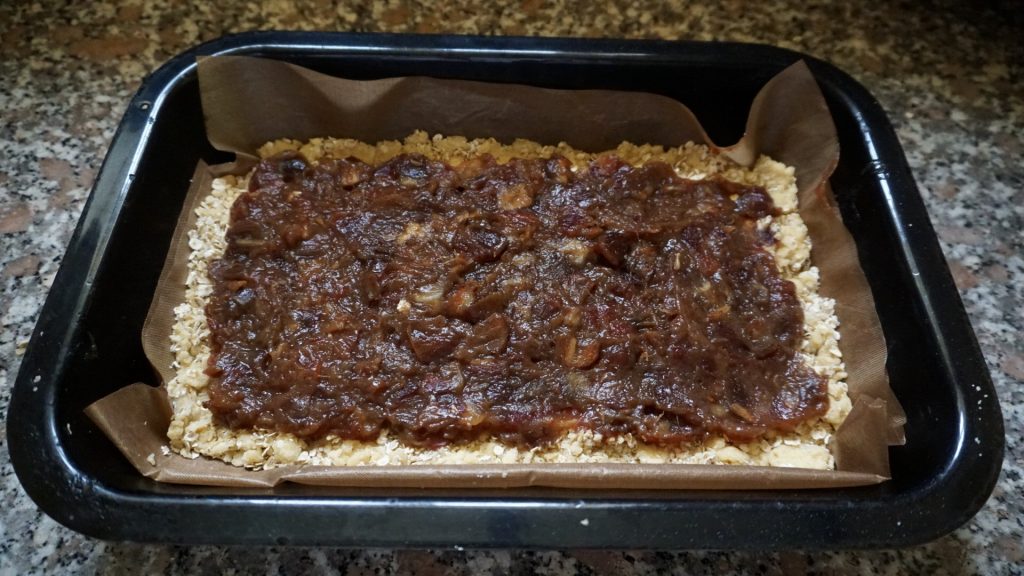
Spread the remaining half of the crumble mixture over the date purée.
Bake until golden.
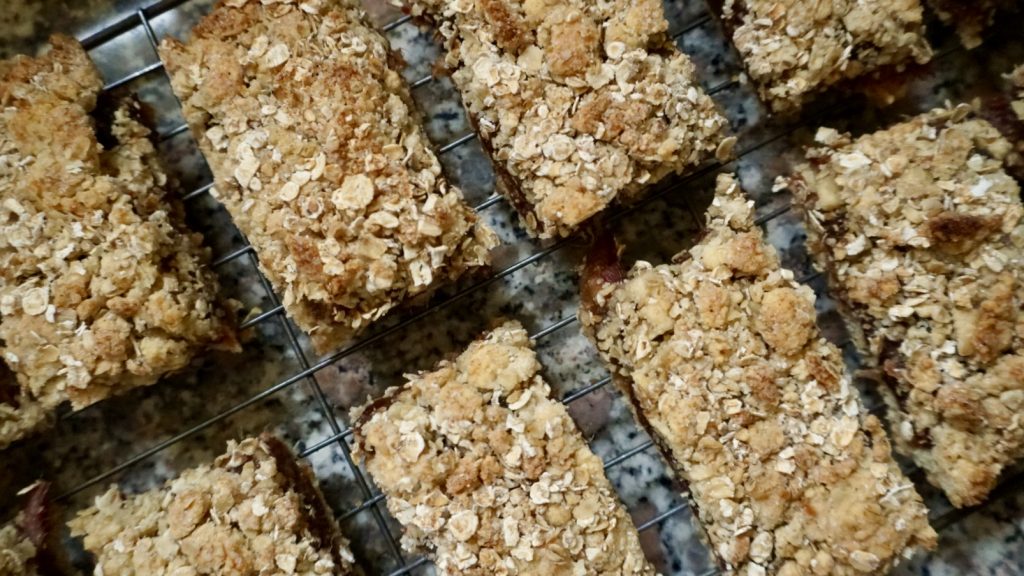
Cut into portions when cool.
Make it vegan
Use a plant based margarine instead of butter to make vegan oat crumble bars.
How to serve
- Date slices can be served cold for dessert or a teatime snack.
- This portable cake snack is perfect for lunchboxes, picnics or to take out on a hike.
- Date and oat slices can also be served warm either on their own or with whipped cream, custard or ice cream.
Storage instructions
- Store in an airtight container where they will stay fresh for several days.
- They can also be cut into individual portions and frozen. Defrost at room temperature or in a microwave.
Other snack cakes


Date and oat slices
Ingredients
For the filling
- 300 g dried dates
- 100 ml water
- 2 tsps vanilla extract or essence
For the crumble
- 200 g flour
- 2 tsps baking powder
- 150 g butter
- 120 g oats
- 100 g granulated sugar
Instructions
To make the date filling
- Chop the dates, place in a pan with the vanilla extract and water and stir. Simmer until the dates have softened and the mixture resembles pulp. Add more water if needed. Leave to cool.
To make the crumble
- Sift the flour into a large bowl and add the baking powder and butter. Rub in the butter.
- Add the oats and granulated sugar and mix.
To assemble the date and oat slices
- Line the tin with non stick baking parchment.
- Place half the crumble mixture into the base of the tin and compact with the back of a spoon.
- Spread the date filling evenly over the base.
- Spread the remaining half of the crumble mixture over the top of the date filling and sprinkle a few extra oats on top.
To bake
- Bake at 190℃, 375℉, gas mark 5 until golden (around 20 to 30 minutes).
- Place on a wire cooling rack and leave to cool in the tin. Cut into squares or rectangles when cold.


Jere Cassidy
I love dates and was glad to find this easy recipe. The filling is perfectly sweet and loved the easy ingredients. So good!
Judith
Thank you for letting me know you enjoyed them 🙂
Shelby
I love that I had all the ingredients on hand to make these slices! They came out perfect.
Judith
It's good to hear they turned out well 🙂
Katie
Oh my goodness these slices are incredible! Such a perfect healthy treat and they're super easy to make too!
Judith
It's great to hear you enjoyed them!
Nancy
I love these date slices. So delicious and satisfying
Judith
It great to hear you enjoyed them. Thank you for letting me know. 🙂
Chris Robinson
After several mixed results trying to make vegan date slices, this one finally worked fantastically well.
I used 350g of dates rather than 300g plus 40g of sugar as I wanted a fuller date flavour whilst reducing the amount of added sugar (besides which, dates are already very high in natural sugars).
Using a food processor/blended really helped to get a good consistency for the base and topping. I also added 75 of pecan nuts, pushing them into the topping.
My oven is fierce, so I baked on 100c for around 25 minutes. After 15 minutes the pecans were beginning to show signs of browning too rapidly/excessively, so I brushed the topping and the pecans with a generous amount of soya milk and then returned to the oven.
I allowed the mixture to cool before cutting into slices, and they were delicious, as good as ones I have purchased in health food stores and National Trust cafes.
Than you for this great recipe!
Judith
Thank you for taking the time to let me know that you enjoyed these date slices. I make them regularly as they are a favourite in my house! The addition of the pecans sounds a tasty variation 🙂
Sue
Tasty but way too much sugar for me. I won’t put sugar in the dates next time as they are naturally sweet and much less in the main mix
Judith
Thank you Sue for trying this recipe and for your feedback. One of the things I like about this recipe is that it is flexible. The sugar can simply be omitted from the date filling if you wish to make a reduced sugar version of these date slices. I haven't tried the crumble mix without sugar but it may work with slightly less sugar.
Sue
Thank you Judith for your reply. I tried your recipe again this week and omitted the sugar in the dates. I also used caster sugar instead of granulated and they were delicious. Have recommended to my friends and family 😊
Judith
Thank you for letting me know that you you enjoyed these date slices without adding sugar to the dates, and also for recommending this recipe. I hope your friends and family enjoy them too 🙂
Sammy
Have always loved date slices and these were so easy to bake and packed full of flavour. They are going to become a staple of my baking routine so thanks ☺️
Judith
Thank you for your feedback Sammy, I'm pleased you enjoyed them. They are one of my regular bakes too and they always go down well. 🙂
Carl Duffin
I didn't have enough dates for the recipe so I put 200g dates with 100g smashed banana.
Also, I can't have spreads in the house because I overeat on them, so I used a reduced weight of olive oil.
It worked well.
Judith
One thing I like about this recipe is that it's versatile and works well with some other fruit fillings. I haven't tried banana but that sounds good 🙂