Tomato and chilli chutney, or hot tomato chutney, is a versatile condiment made using ripe tomatoes and spices and is suitable for long storage.

It makes a tasty addition to a cheeseboard, sandwiches or burgers. It also pairs well with falafel, sweet potato burgers, beetroot burgers and nut roast.
Tomato and chilli chutney is a great way to make use of a glut of tomatoes. It will give you a good stock of this homemade condiment and is also great as a homemade gift.
I find that homemade chutneys last longer than shop bought versions so it is definitely worth spending the time to make your own. Sometimes I have found a jar of tomato preserve at the back of a cupboard that I'd made several years earlier that was still perfectly preserved and had matured well.
You don't need to buy jars for homemade chutney. You can use previously used glass jars and lids so long as they are in good condition. See how to choose and sterilise glass jars (which is summarised towards the end of this post).
If you are looking for other chutney recipes you may also like to try spiced apricot chutney, fruit chutney, red onion chutney or this easy recipe for tomato chutney.
The quantities in this spicy tomato chutney recipe will make around 5 medium sized jars.
Ingredients
- Approximately 3 kg tomatoes - use any type of fresh tomatoes such as plum tomatoes, beef tomatoes, vine tomatoes, etc. The skins do not need to be removed before making the chutney.
- 3 red peppers - use either fresh or dried red peppers. If you don't have peppers they can be omitted.
- 3 medium sized chillis - if you are using larger or smaller chillis, or extra hot chillis you should adjust the quantity.
- 2 teaspoons allspice - allspice will add warmth and fruitiness to your homemade chutney. If you don't have allspice you could use a mixture of cinnamon, nutmeg and cloves.
- 2 teaspoons paprika - use either smoked or unsmoked paprika depending on your preference and what you have in your kitchen.
- 1 teaspoon mild chilli powder - if you would like a hotter chutney you could add a little more chilli powder or use hot chilli powder.
- 3 teaspoons salt - salt will help to preserve the other chutney ingredients.
- 3 dried bay leaves - if you don't have bay leaves simply make the chutney without them.
- 400g granulated sugar - sugar will help to preserve your homemade chutney and will contribute to the flavour.
- 400 ml red wine vinegar - red wine vinegar will work best for this recipe but if you don't have red wine vinegar you could substitute white wine vinegar but this will produce a chutney with a slightly different flavour.
- A dash of olive oil - use this to cook the fresh or dried chilli before adding the other ingredients.
Prepare
Finely chop the chillis. Chop the peppers (1cm square or smaller) and roughly chop the tomatoes. There is no need to remove the skin from the tomatoes.
Cook
Gently cook the chilli in hot olive oil for a couple of minutes.
Add the tomatoes, peppers, spices, salt, sugar, vinegar and bay leaves (ie, all the remaining ingredients) and stir.
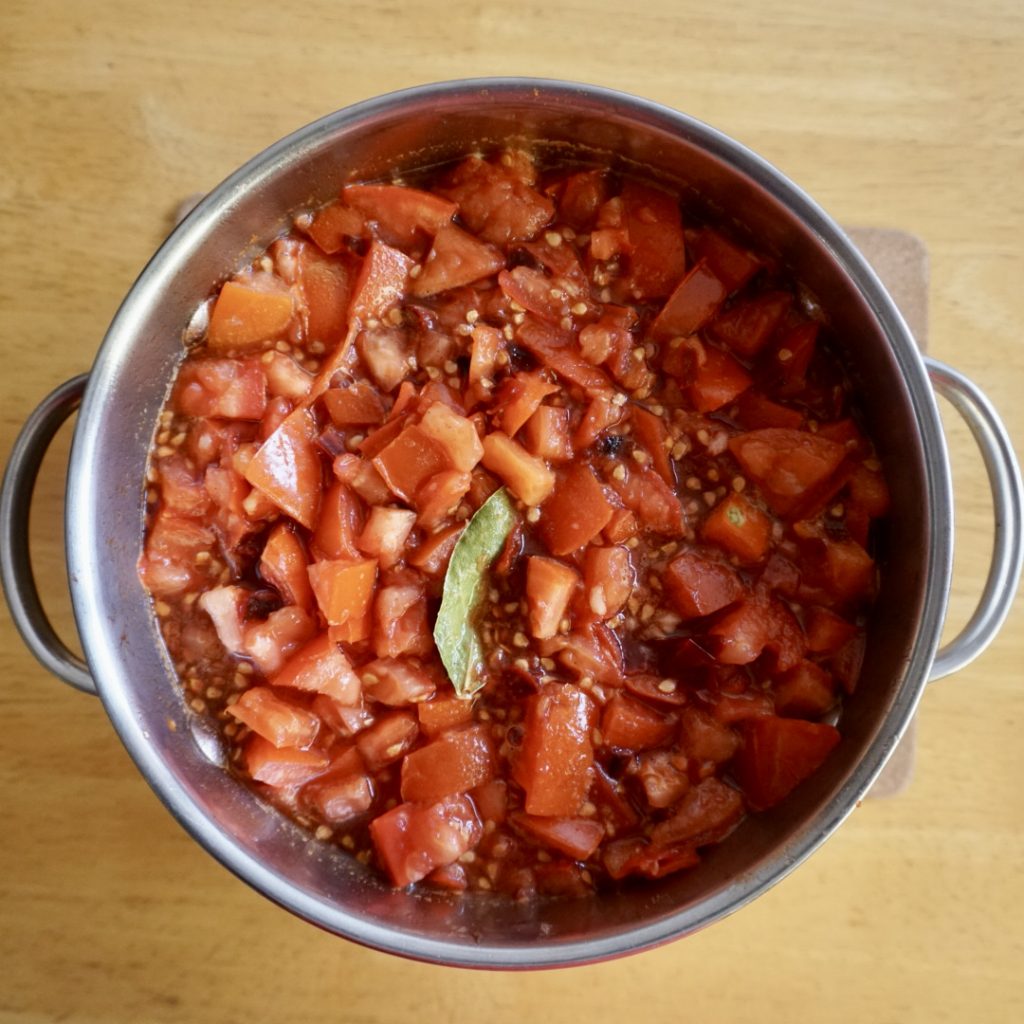
Bring to the boil and then simmer for around 40 minutes without a lid. Turn up the heat and boil rapidly for around 10 minutes, again without a lid until the liquid has reduced. The time this will take will vary depending on the type of tomatoes used as some tomatoes contain more water than others.
Transfer to sterilised jars
Spoon the chutney into the sterilised jars whilst it is still hot (see "Tips" below) and fill to just below the tops making sure there are no air pockets. If you see any air pockets through the side of the jars pass a clean knife into the chutney to remove it. Tightly screw on the lids whilst the chutney is still hot. Clean any runs from the outsides of the jars and lids.

Store
Store the jars of chutney in a dark place such as at the back of a cupboard for a minimum of 8 weeks before eating. This will allow the flavours to mingle. If you can leave longer then that is even better as the flavours will continue to mature and improve.
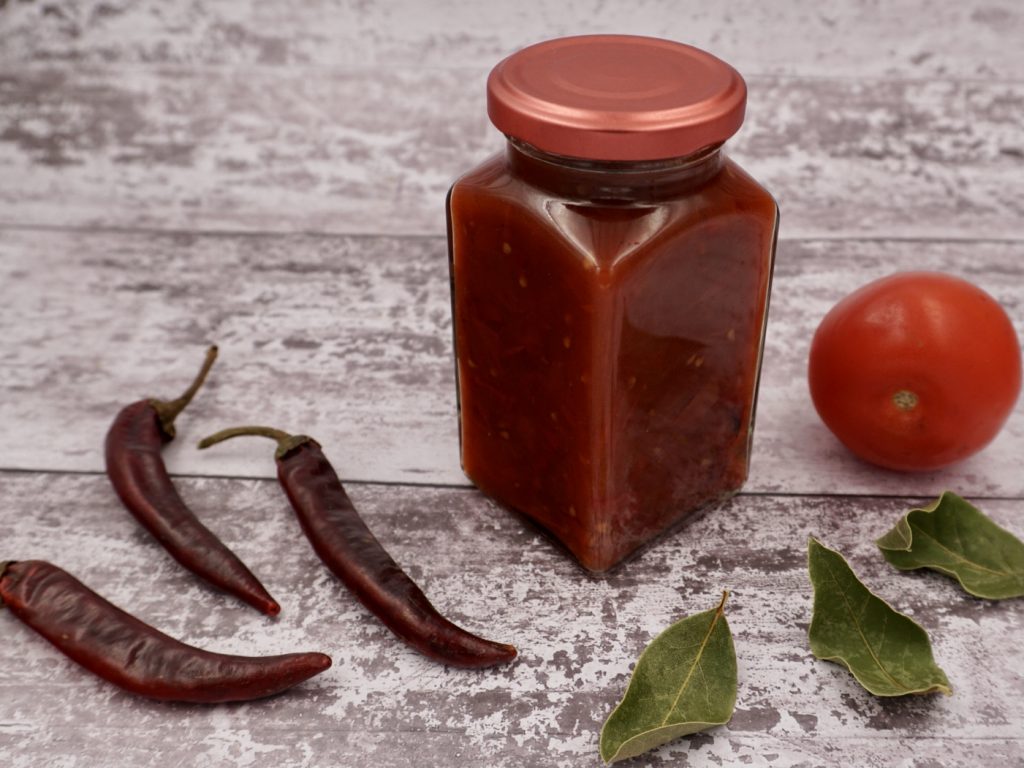
How to prepare jars for chutney
- First, check the jars and lids are in a good condition. Discard any lids which show any signs of damage or corrosion.
- Wash the jars and lids in hot soapy water and dry with clean kitchen paper. Alternatively, the jars and lids can be cleaned in a dishwasher on a hot wash.
- Place the jars (with lids removed) and lids on a baking tray in the oven at a low setting for around 10 to 15 minutes.
- Your jars will now be sterilised and ready to fill with your homemade chutney.
Tips
- Prepare a couple of additional empty jars with lids in case they are needed. The exact amount of chutney produced can vary depending on the size and type of tomatoes used, the amount of water they contain and the length of time it is cooked.
- If you would prefer a milder chutney then reduce the number of chillis. Similarly, increase the number of chillis for a hotter and spicier version.
- Don't be tempted to try the chutney before it has matured. Leave for at least 8 weeks to allow the flavours to mature so that it can be enjoyed at its best. If you can leave it even longer the flavours will continue to improve.
Ways to use chutney
- Serve as a condiment alongside falafel, nut cutlets or lentil nut roast.
- Your spicy tomato chutney will make a tasty addition to a cheeseboard, or vegetarian charcuterie board.
- It is great for adding to salad dishes.
- It will add a kick to other sandwich ingredients.
- The chutney is perfect for adding to burgers.
Storage instructions
- Store in a cool dark place, such as in the back of a cupboard, for a minimum of 8 weeks before trying. It takes several weeks for the flavours to mature and if you sample the chutney too early it will taste unpleasant.
- This spicy tomato chutney does not need to be refrigerated (although you can keep it in the fridge if you like).
- So long as it is stored in suitable jars which have been sterilised this chutney will last for several months or even years.
Other easy chutney recipes


Tomato and chilli chutney
Ingredients
- 3 kg tomatoes
- 3 red peppers
- 3 chillis
- 2 teaspoon ground allspice
- 2 teaspoon paprika
- 1 teaspoon mild chilli powder
- 3 teaspoon salt
- 3 dried bay leaves
- 400 g granulated sugar
- 400 ml red wine vinegar
- 1 tablespoon olive oil
Instructions
Prepare
- Finely chop the chillis. Chop the peppers (1cm square or smaller) and roughly chop the tomatoes. There is no need to remove the skin from the tomatoes.
Cook
- Gently cook the chilli in hot olive oil for a couple of minutes.
- Add the tomatoes, peppers, spices, salt, sugar, vinegar and bay leaves and stir.
- Bring to the boil and then simmer for around 40 minutes without a lid. Turn up the heat and boil rapidly for around 10 minutes, again without a lid until the liquid has reduced. The time this will take will vary depending on the type of tomatoes used as some tomatoes contain more water than others.
Sterilise the jars
- While the chutney is cooking, place 5 to 7 medium sized clean jars and lids (lids removed) on a baking tray and place in the oven set to a low temperature for about 10 to 15 minutes to sterilise.
Transfer to sterilised jars
- Spoon the hot chutney into the hot sterilised jars and fill to just below the tops. Pack the chutney tightly and make sure there are no air pockets. Pierce any air pockets with a clean knife. Tightly screw on the lids whilst still hot.
Store
- Store in a dark, dry place such as in a box or at the back of a cupboard for a minimum of 8 weeks to mature before using.
Notes
- First, check the jars and lids are in a good condition. Discard any lids which show any signs of damage or corrosion.
- Wash the jars and lids in hot soapy water and dry with clean kitchen paper. Alternatively, the jars and lids can be cleaned in a dishwasher on a hot wash.
- Place the jars (with lids removed) and lids on a baking tray in the oven at a low setting for around 10 to 15 minutes.
- Your jars will now be sterilised and ready to fill with your homemade chutney.
- Prepare a couple of additional empty jars with lids in case they are needed. The exact amount of chutney produced can vary depending on the size and type of tomatoes used, the amount of water they contain and the length of time it is cooked.
- If you would prefer a milder chutney then reduce the number of chillis. Similarly, increase the number of chillis for a hotter and spicier version.
- Leave for at least 8 weeks to allow the flavours to mature so that it can be enjoyed at its best. If you can leave it even longer the flavours will continue to improve.



Dawn
This is the first time I have tried chutney and it was delicious! We had it on our grilled burgers and everybody loved it. I made it a few weeks ago so it was ready last night and full of flavor. Definitely will make this again!
Jess
Great addition to meals!
Andrea
This chutney turned out so delicious! Love how flavorful and easy it was to make too!
Jeff
Summer is coming with it heirloom tomatoes. This should be fabulous to help preserve it for the rest of the year. Thanks for all the great hints.