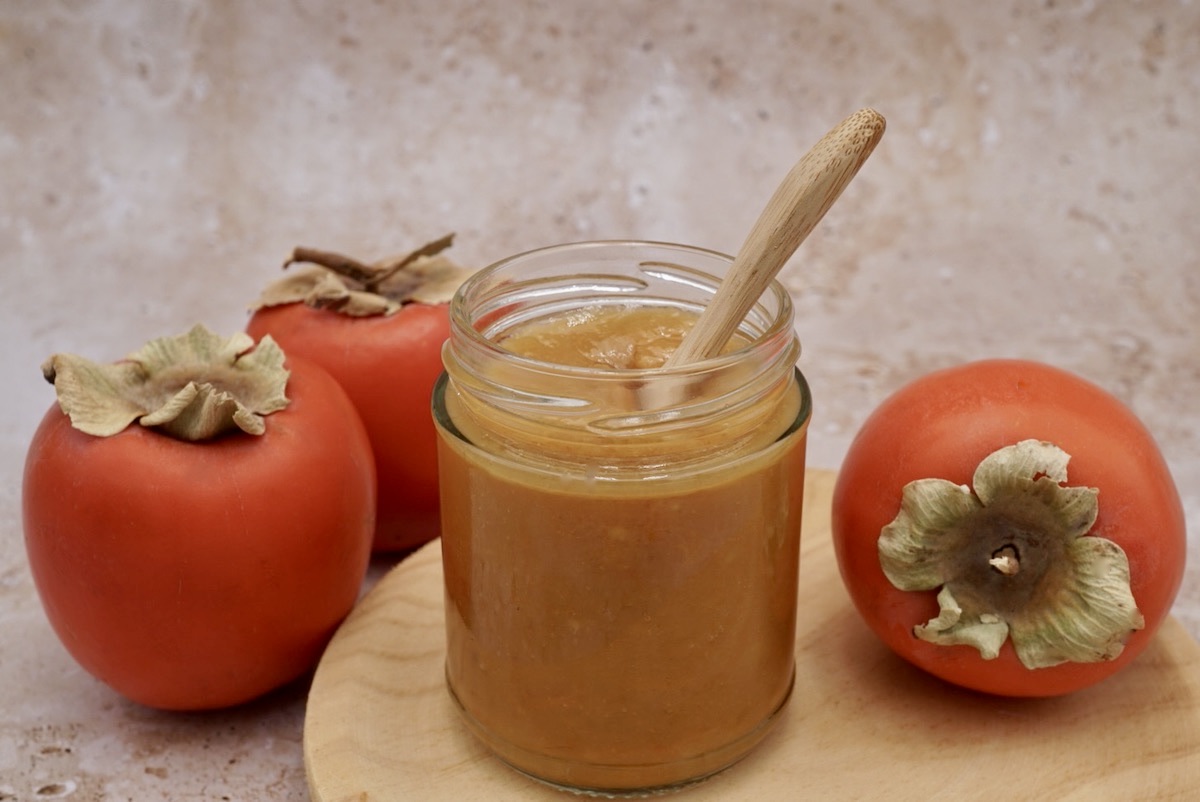
Capture the colours and flavours of autumn with this easy recipe for persimmon jam with notes of citrus and spice. This homemade jam is a great way to make use of a glut of persimmons and is perfect for spreading, spooning or gifting.
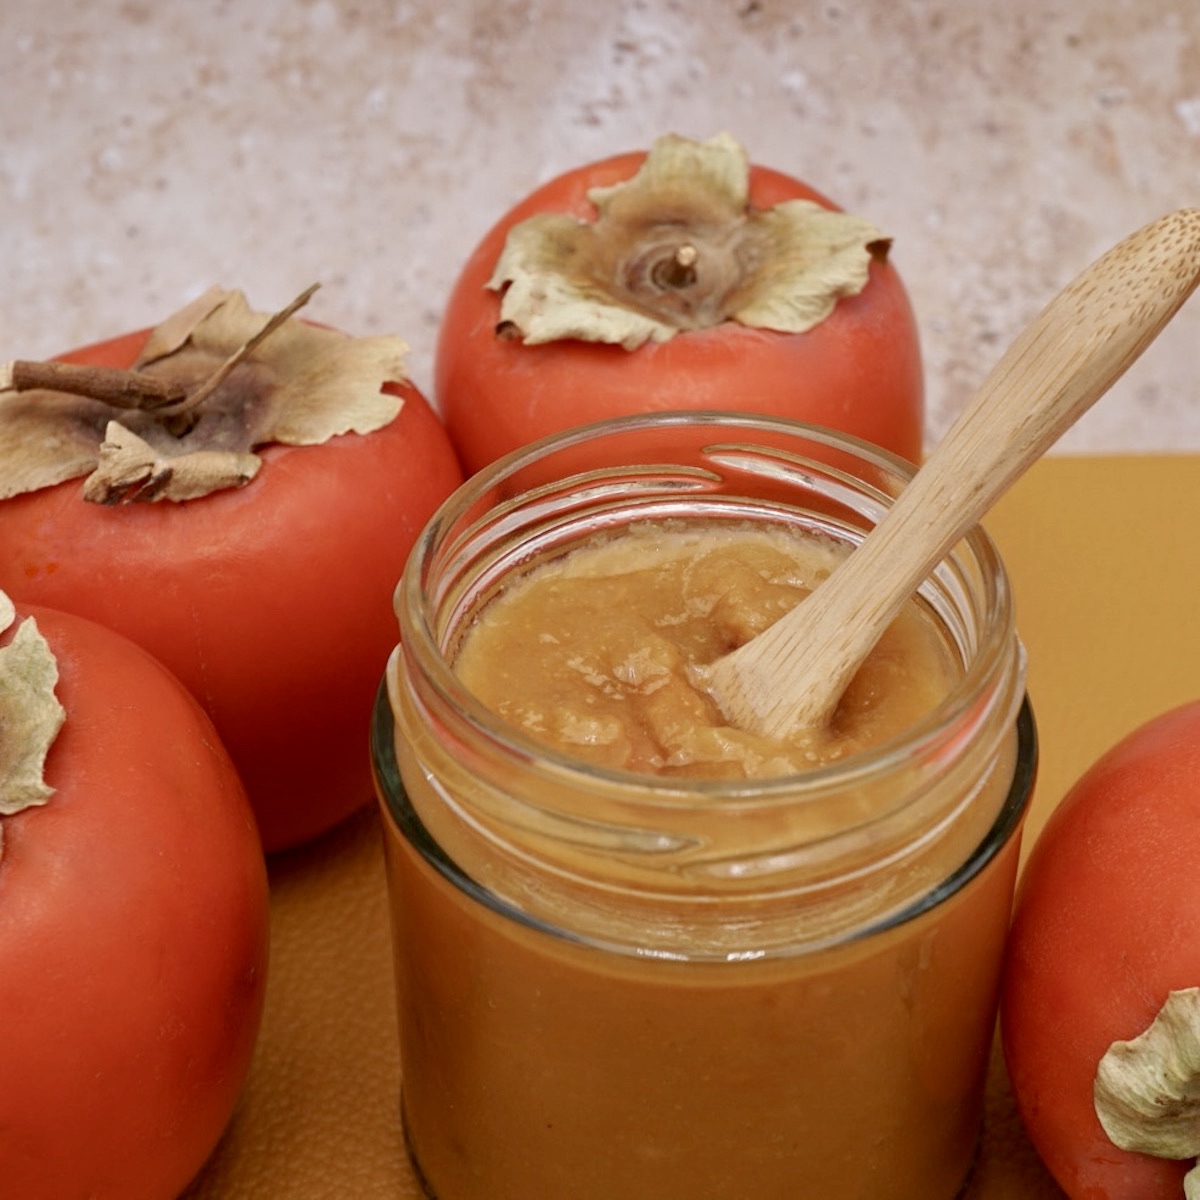
Serve on toast, pancakes or waffles, or as a topping for desserts such as ice cream or cheesecake.
If you find yourself with a supply of these beautiful orange fruits and are looking for recipes for persimmons then this jam recipe is worth a try.
This jam can be made using either fuyu or hashiya persimmons and is made without using commercially produced pectin.
It can be kept for several months so long as it is stored in clean, sterilised jars.
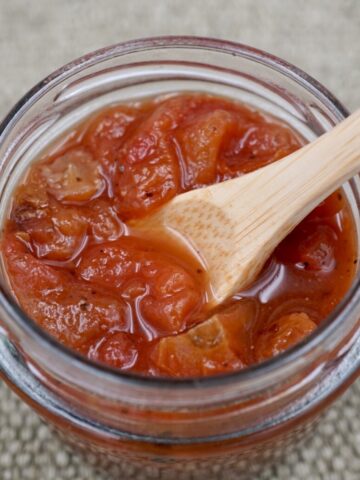
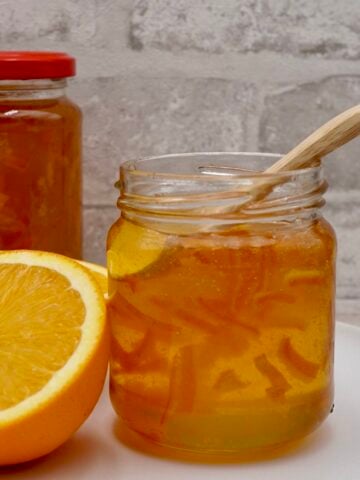
If you are looking for other ideas for seasonal preserves and compotes you may also like to try this easy red tomato chutney, red pepper chutney, fig compote or orange marmalade.
The quantities in this persimmon jam recipe are sufficient to make around 3 medium sized jars of jam.
What is a persimmon?
In the UK persimmons are also known as "kakis".
The trees are native to parts of Asia including China and North-East India but are also grown in other areas including the Mediterranean and USA. The trees are very productive and so anyone with a persimmon tree is likely to have a glut of these late autumn fruits when they ripen around November and December.
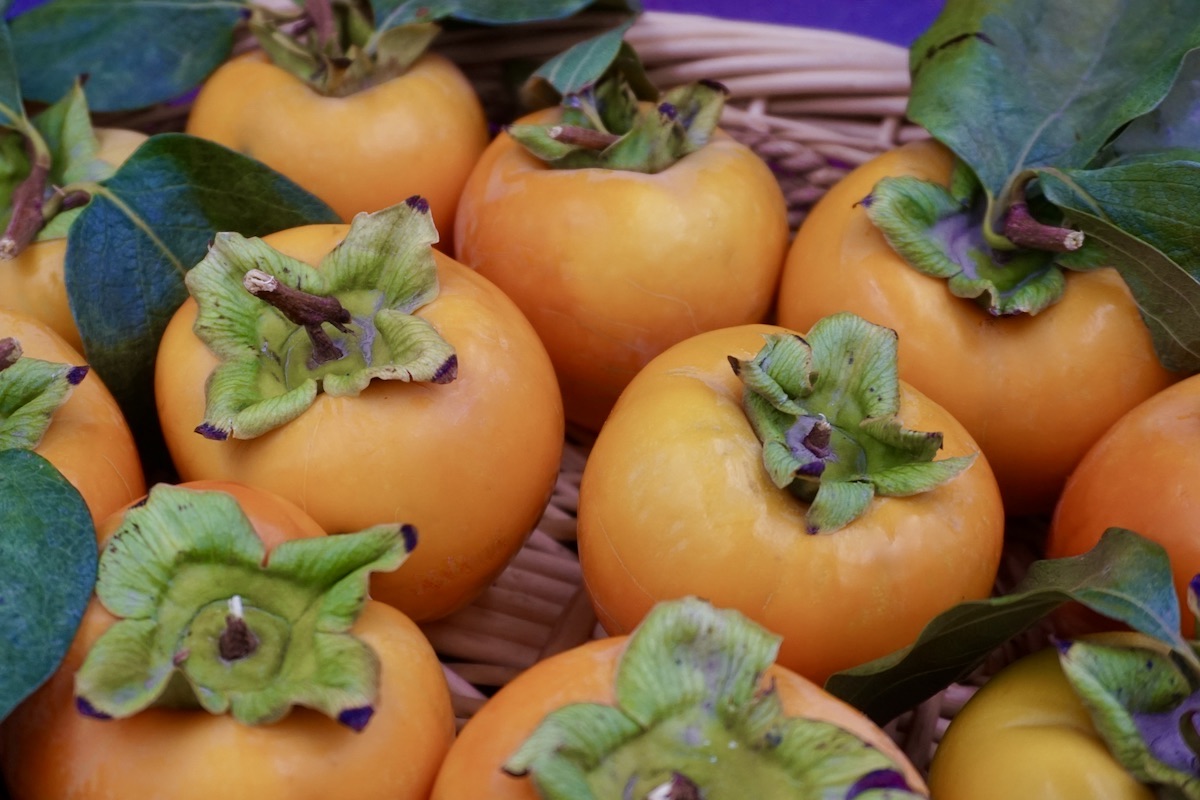
The two main types of persimmon are fuyu and hachiya. They are both bright yellow fruits but are slightly different shapes.
Fuyu persimmons are a non-astringent variety. They are round and similar in shape to a large tomato. Fuyu persimmons can be used while still firm or after they have ripened and softened. They can be eaten either raw or cooked, including the skins.
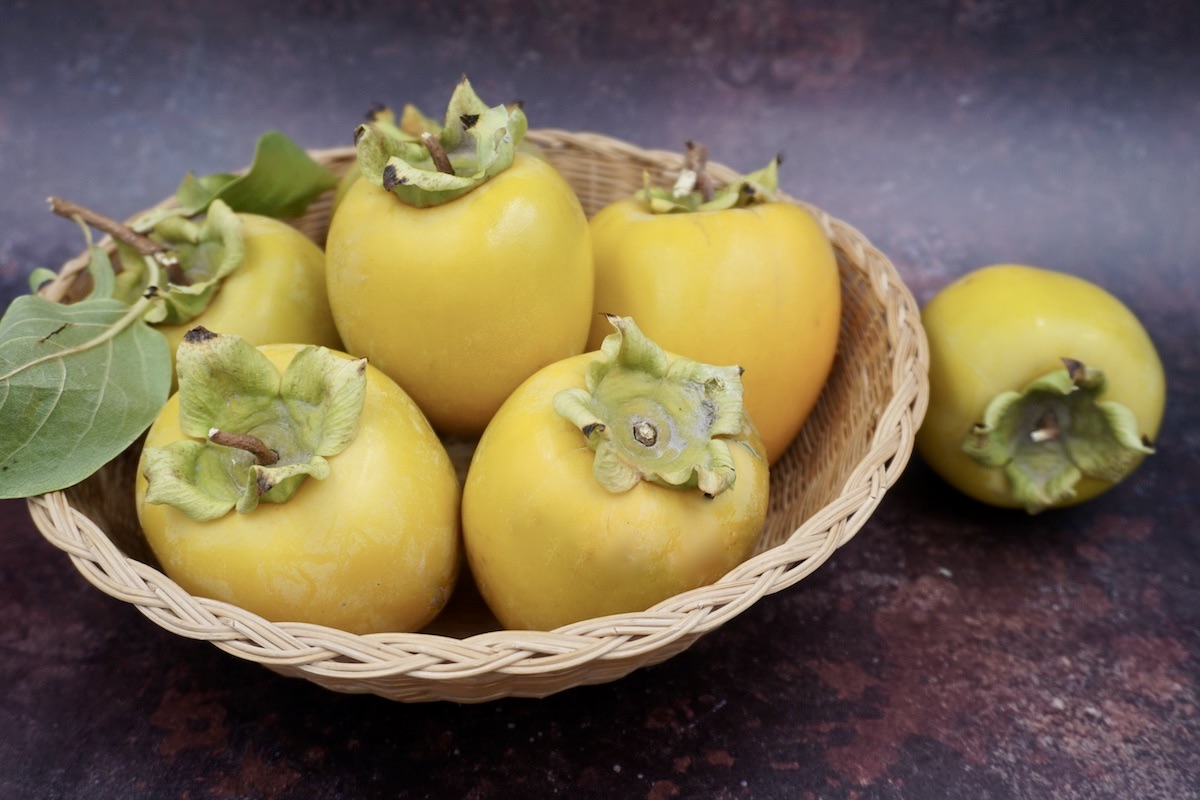
Hachiya persimmons are an astringent variety. They are longer in shaped need to ripen and soften before eating. They are ideal for slicing and drying to enjoy as a healthy snack.
Ingredients
See the recipe card below for detailed ingredients and instructions.
- Persimmons (about 6 to 7 fruit depending on size) - you can use either fuyu or ripe hachiya.
- Sugar - ordinary granulated sugar will work for this recipe. There is no need to buy speciality sugar.
- Oranges - the orange zest will add a fruity, citrussy flavour to the jam.
- Ground ginger - this will add a warm spicy flavour to the jam.
- Water - water is needed to help cook the fruit.
- Lemon juice - lemon juice will add a citrussy flavour to the jam and will help it to set without the need to use commercially produced pectin.
Before starting this recipe
- Place a couple of small plates in the freezer ready to check whether the jam has reached setting point. The cold plates will quickly cool a small sample of the jam to check whether it whether it will set when cooled.
- Prepare around 4 glass jars with lids. Read how to prepare jars for homemade jam.
How to make persimmon jam
Chop the persimmons and place in a pan with the other ingredients.
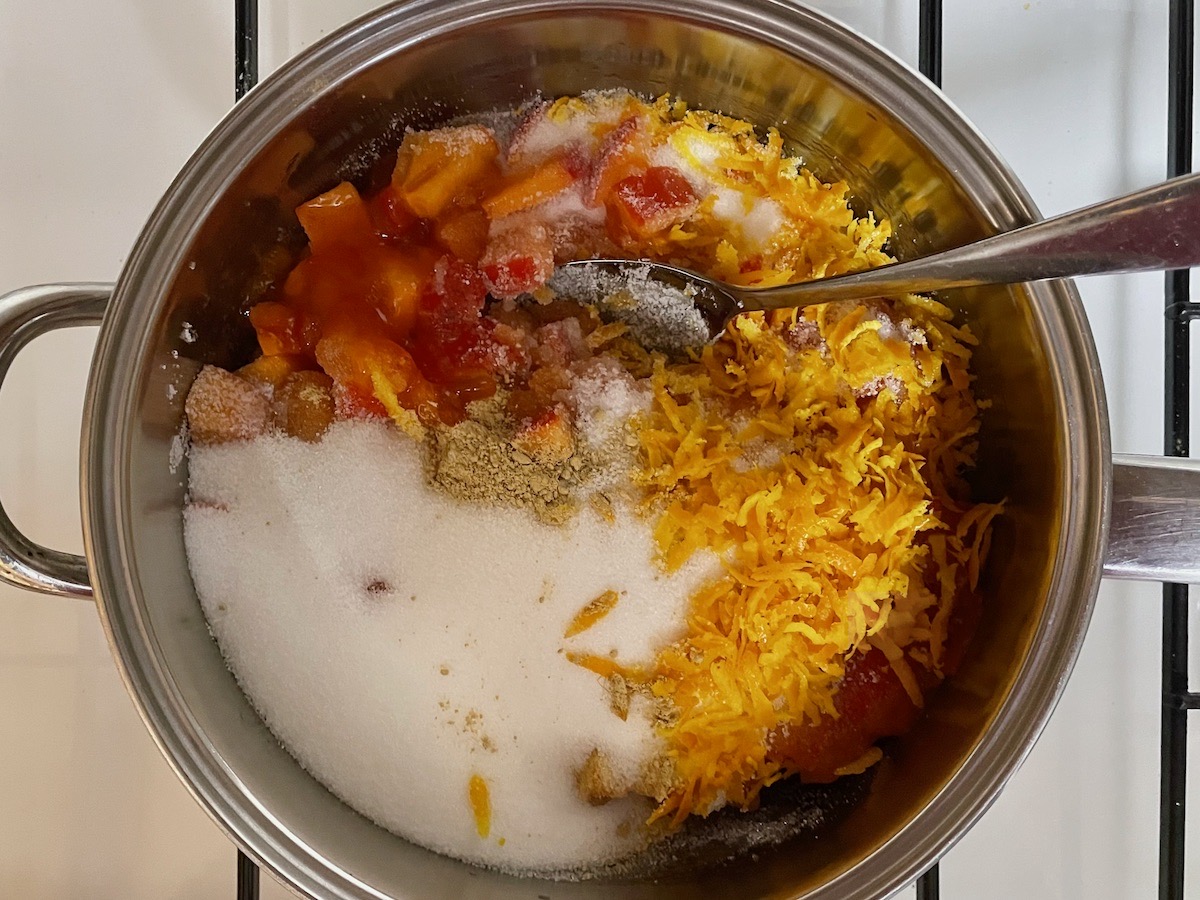
Cook until the fruit has softened and the sugar has dissolved.
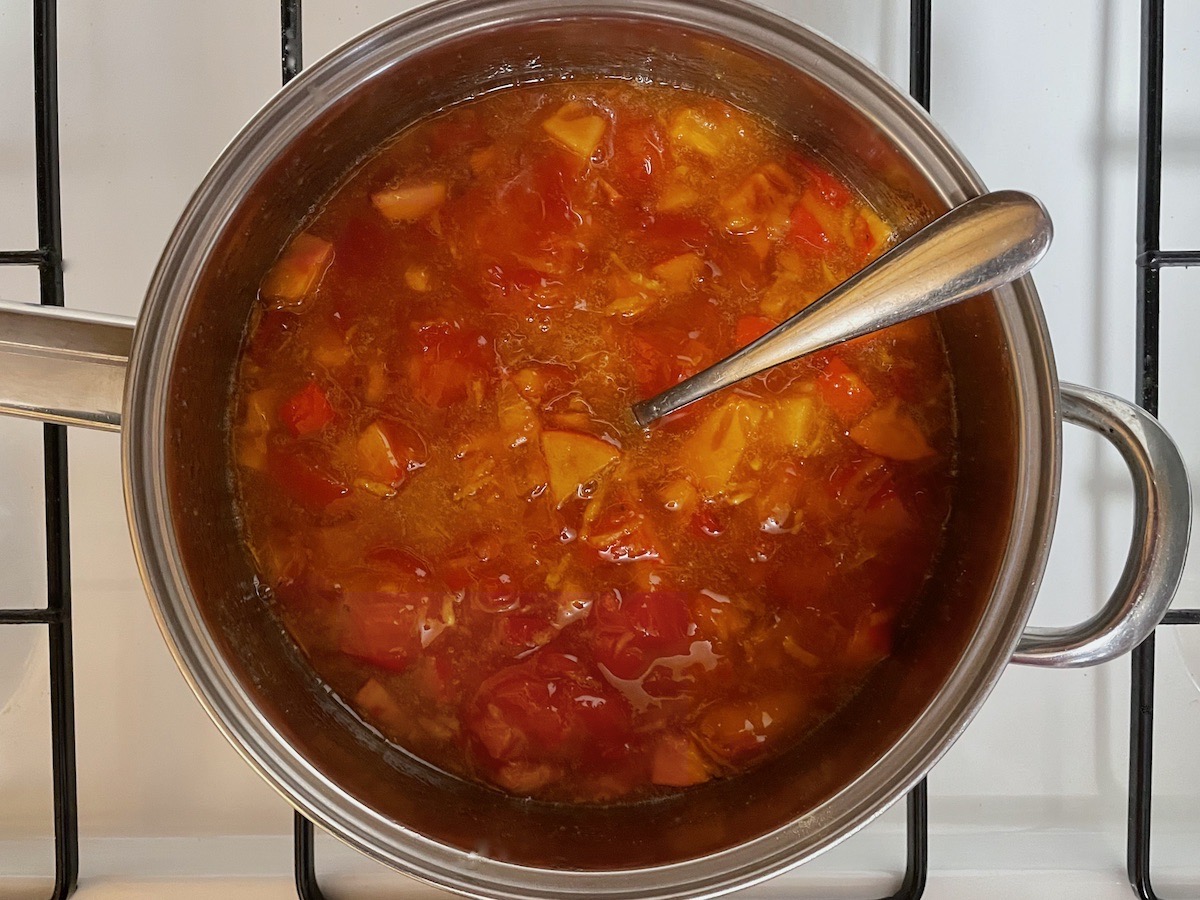
Turn up the heat and boil rapidly without a lid until it reaches setting point.
How to check your jam for setting point
Using a teaspoon, place a small amount of the jam on one of the chilled plates from the freezer. If the jam sticks to the plate and does not slide off when the plate is tilted the jam has reached setting point and is ready. If the jam is not ready, continue to boil rapidly for another 5 minutes or so and then test again.
Leave to cool slightly then transfer the jam into the sterilised jars.
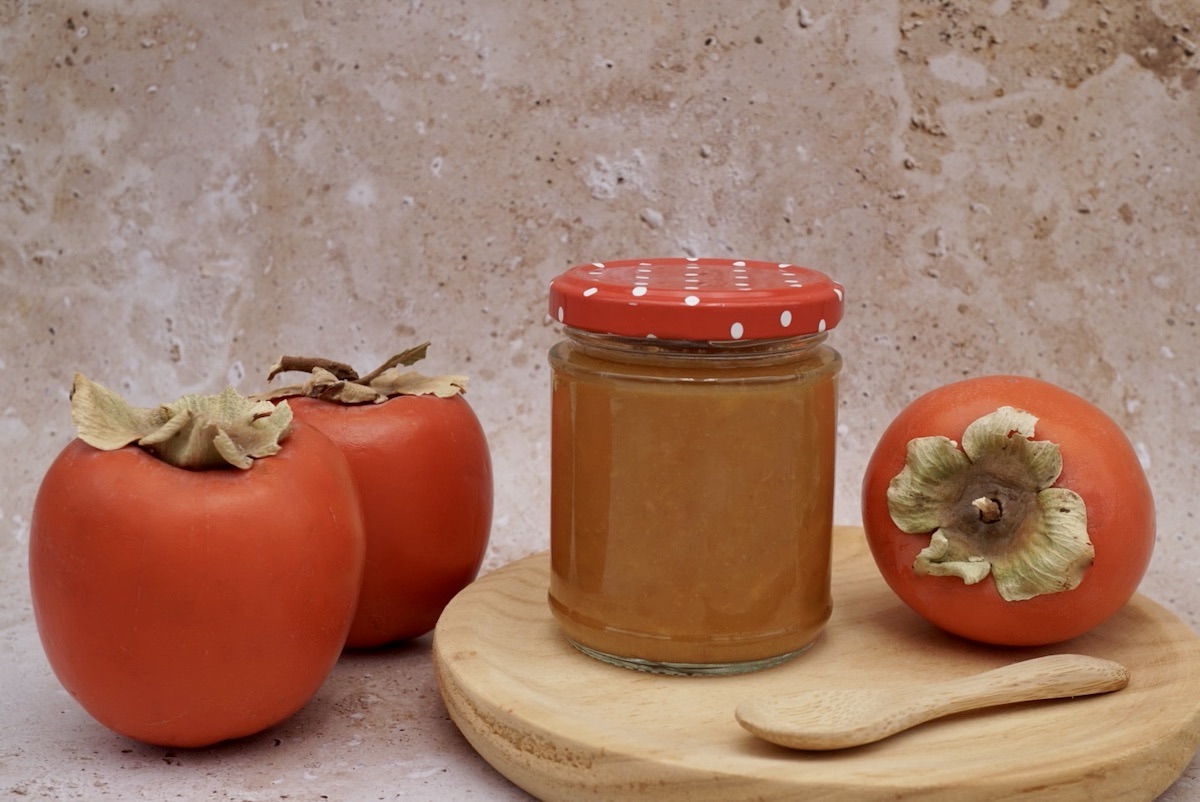
Ways to use persimmon jam
- Spread on toast, waffles or pancakes.
- Use as a topping for desserts such as cheesecakes or ice cream.
- Serve as an accompaniment to nut roasts, nut cutlets, beetroot burgers or falafel.
- Persimmon jam pairs well with cheeses and makes a tasty addition to a cheeseboard.
Storage instructions
- Store your homemade jam in sterilised jars.
- So long as your jars and lids are in a good condition and properly sterilised your homemade jam should keep for several months.
Tips
- It is a good idea to prepare an extra jar in case it is needed as the exact quantity made will vary depending on how long the jam needs to boil to reach setting point.
- After filling each jar, check there are no air bubbles in the jam as this may affect how long the jam will keep. Pierce any air bubbles with a clean knife.
- If you plan to add labels to the jars, wait until the jam has cooled so that the heat does not affect the glue.
Other recipes for preserves
- Easy red tomato chutney1 Hours 30 Minutes
- Red onion chutney (onion relish)1 Hours 40 Minutes
- Seville orange marmalade14 Hours 20 Minutes
- Fruit chutney with mixed fruits2 Hours

Persimmon jam with orange and ginger
Ingredients
- 1 kg persimmons (about 6 to 7 fruit)
- 500 g sugar
- 2 orange zest
- 1 teaspoon ground ginger
- 100 ml water
- 1 lemon juice
Instructions
Before starting this recipe
- Place a couple of small plates in the freezer ready to check whether the jam has reached setting point.
- Prepare about 4 jars with lids.
To sterilise the jars
- First, check the jars and lids are in a good condition. Discard any lids which show any signs of damage or corrosion.
- Wash the jars and lids in hot soapy water and dry with clean kitchen paper. Alternatively, the jars and lids can be cleaned in a dishwasher on a hot wash.
- Place the jars (with lids removed) and lids on a baking tray in the oven at a low setting for around 10 to 15 minutes.
- Your jars will now be sterilised and ready to fill with your homemade jam.
To prepare the jam
- Chop the persimmons into small chunks, leaving the skin on, and place in a large saucepan.
- Add the sugar, orange zest, ginger, water and lemon juice and mix.
- Heat gently without a lid, stirring regularly, until the fruit has sorted and the sugar has dissolved.
- Turn up the heat and boil rapidly without a lid for about 15 minutes.
- While the jam is cooking, place the glass jars and lids, with the lids removed, on a metal baking sheet in the oven at a low temperature. Heat the jars and lids for about 10 minutes to sterilise them.
- Using a teaspoon, place a small amount of the jam on one of the chilled plates from the freezer. If the jam sticks to the plate and does not slide off when the plate is tilted the jam has reached setting point and is ready. If the jam is not ready, continue to boil rapidly for another 5 minutes or so and then test again.
- When the jam has reached setting point, remove from the heat for a few minutes to cool slightly.
- Transfer the jam into the sterilised jars while the jam and the jars are still warm. Fill the jars to just below the top, making sure there are no air bubbles and then add the lids.
Notes
- While this recipe will make roughly three medium sized jars of jam the exact quantity will very depending on how long the jam needs to boil to reach setting point. Also, as your jars are likely to vary in size it is a good idea to prepare an extra jar in case it is needed.
- Check your empty jars are in good condition. Also check the lids, particularly the undersides to make sure they are free from corrosion.
- There is no need to buy new jars for homemade jam. Previously used jars can be re-used so long as they are in good condition and have been cleaned and sterilised.
- After filling each jar, check there are no air bubbles in the jam as this may affect how long the jam may keep. Pierce any air bubbles with a clean knife.
- If you plan to add labels to the jars it is better to wait until the jam has cooled so that the heat does not affect the glue.
- If you are making persimmon jam to spread on toast or bread it is a good idea to chop the fruit into small pieces to make it easier to spread.




Leave a Reply